Showing posts with label Terrain. Show all posts

Tuesday, May 31, 2016

Tablescapes: Urban Street Painting #3

I've been slowly adding and trying new things to the tablescapes urban tables.  It's been fun (and frightening) trying out new skills but I'm learning a ton of new hobby skills. 

I washed all the metal areas with a brown/black ink wash and went about sponging on masking fluid everywhere I wanted to put down road markings.  I then created some masking tape stencils to airbrush on the patterns. 


I also went out and bought some random patterns to put on the open spaces and figured some hazard stripes might look cool as well.  These were all airbrushed on as well.  Not too bad for my first try and it.  The masking fluid rubbed off easily with a large eraser and I was good to go. 

To celebrate the holiday weekend, I had a friend of mine and his son over to try out Infinity.  Unfortunately these roads are way too wide for Infinity (my fear) but I'll see if I can come up with some road debris to add line of sight blockers.  It was fun, and it was great to play outside with beer.


I then finished up last night by doing an oil wash of a dark brown.  I slathered it on and used a paper towel to pull off the top.  I wanted to "dirty" up the concrete flat tiles some.  After that was finished I let it try for the evening and did a matte coat of spray to seal it in.  It's hard to see my yellow lane dividers up top, but you can see the finished product on them as well. 


Next steps will be doing the same wash to the street and intersection tiles and then I'll try my hand at weathering powders.  It's been a very fun project, and I'll have enough to manage about 3 4'x6' tables for friends to come over.

Thursday, May 12, 2016

Tablescapes: Urban Street Painting 2

I've been slacking on my painting.  Work and life have gotten in the way.  Here are some more progress shots of the tablescape urban tiles. 

I first started by airbrushing in the Badger Airbrush "Cracked Soil.  I did it around all the drains, manhole covers, and craters. 


I then worked into the craters some darker brown.  I used the Badger Muddy Brown to do that.  Finally I pulled in the black color in the center of the craters and I covered all of the metal work.


Next step is to paint all the metal work silver then wash it with an armor wash.  I'll then be on to the stuff I don't have any experience on... masking fluid to break up the yellow painted street markings!  After that I'll work on oil washes and weathering powders. 

Thursday, April 21, 2016

Tablescapes: Urban Streets Tile Painting 1

I admit, I'm super scared of my airbrush.  I think the older I get the more I realize there is a learning curve on new skills and question whether it's worth diving into it.  Sad, huh?  But I decided what is a better way to learn airbrushing then some relatively flat tiles.  Maybe if I get the hang of that I can start trying out miniatures.

I figured I also am super scared of doing weathering powders and oils... so why not jump full on and try all these new skills!  I'd love to apply it to vehicles and terrain.

I picked up a ton of the Secret Weapon miniatures tiles.  I have enough of the clean and damaged urban streets to probably do 12 or 16 feet of gaming tables.  I originally thought I could use them for Infinity but the roads are a little too wide.  Now that I'm on a Death Korps kick, I thought it would be cool to do them in an urban setting as they're trudging through a bombed out city.  I'm also tempted to do a genestealer cult and Deathwatch pairing duking it out in an urban setting.

With that said, I dove in now that the weather is nice.  I primed all of the bases black then started with my first couple of spray paint coats.  I first started with Rustoleum Self Etching Primer.  It's an awesome greyish color with a hint of green.  The picture outside makes it out to be way lighter then it is, but you get the idea.  I hit all the roads with that in an uneven pattern.


I then masked off all of the roads and hit the sidewalks and concrete areas in a base of the Rustoleum Nutmeg.  It'll give me a brownish undercoat that I can layer on the grey. 


I kept with uneven coats through that, letting some areas of the black undercoat show through.  Here's most of my stack of the tiles I'll now begin airbrushing.  I started last night and after a ton of mistakes and learning, I finally got the hang of it. 


I worked in the Minitaire Concrete Slab into the sidewalks and then added it into the highlighted areas in the streets after I pulled off the masking.  Funny enough the first picture was with the garage door closed at night, and the other two were from this morning.  Lighting makes a difference.


I ended up finishing about half the tiles, and got really fast towards the end.  Next steps I'm going to work in more earth tones, and figure out if I paint the striping on the streets or do the blast marks next.  Then on to the scary oils, washes, and weathering!

Thursday, March 26, 2015

Awesome Infinity Terrain

I am so psyched to get into Infinity.  Probably the most exciting part is the awesome terrain and how to immerse yourself in the urban sprawl.  I stopped by the infinity tournaments and took some shots of their amazing terrain for inspiration. 


Now that Adepticon is done, I can work on my resolution to lay off the army building and focus on skirmish games like Infinity and Wild West Exodus!

Thursday, August 21, 2014

Massive Infinity Terrain Part 1

There has been a lack of posts lately, my apologies... but no lack of hobby action.  I'm almost finished with two more Imperial Knights (posted as soon as they are done) as well as a Warhound Titan.

Since it is the summer I know I need to make the most of the good outdoor weather for priming.  With the next generation of Infinity coming this fall and my desire to make my basement a gaming mecca, I've decided to get my butt outside and start painting all this terrain I've been collecting.

The thought about painting all of that was daunting.  Finally my friends convinced me to get over the fear and really make the most out of spray paint.  They taught me some cool tips to get the first few coats of paint down in minimal time.  My Home Depot trip was a lot of fun... got a ton of different colors all for about the cost of 5 cans of GW black primer.

Got some strange looks from the cashier
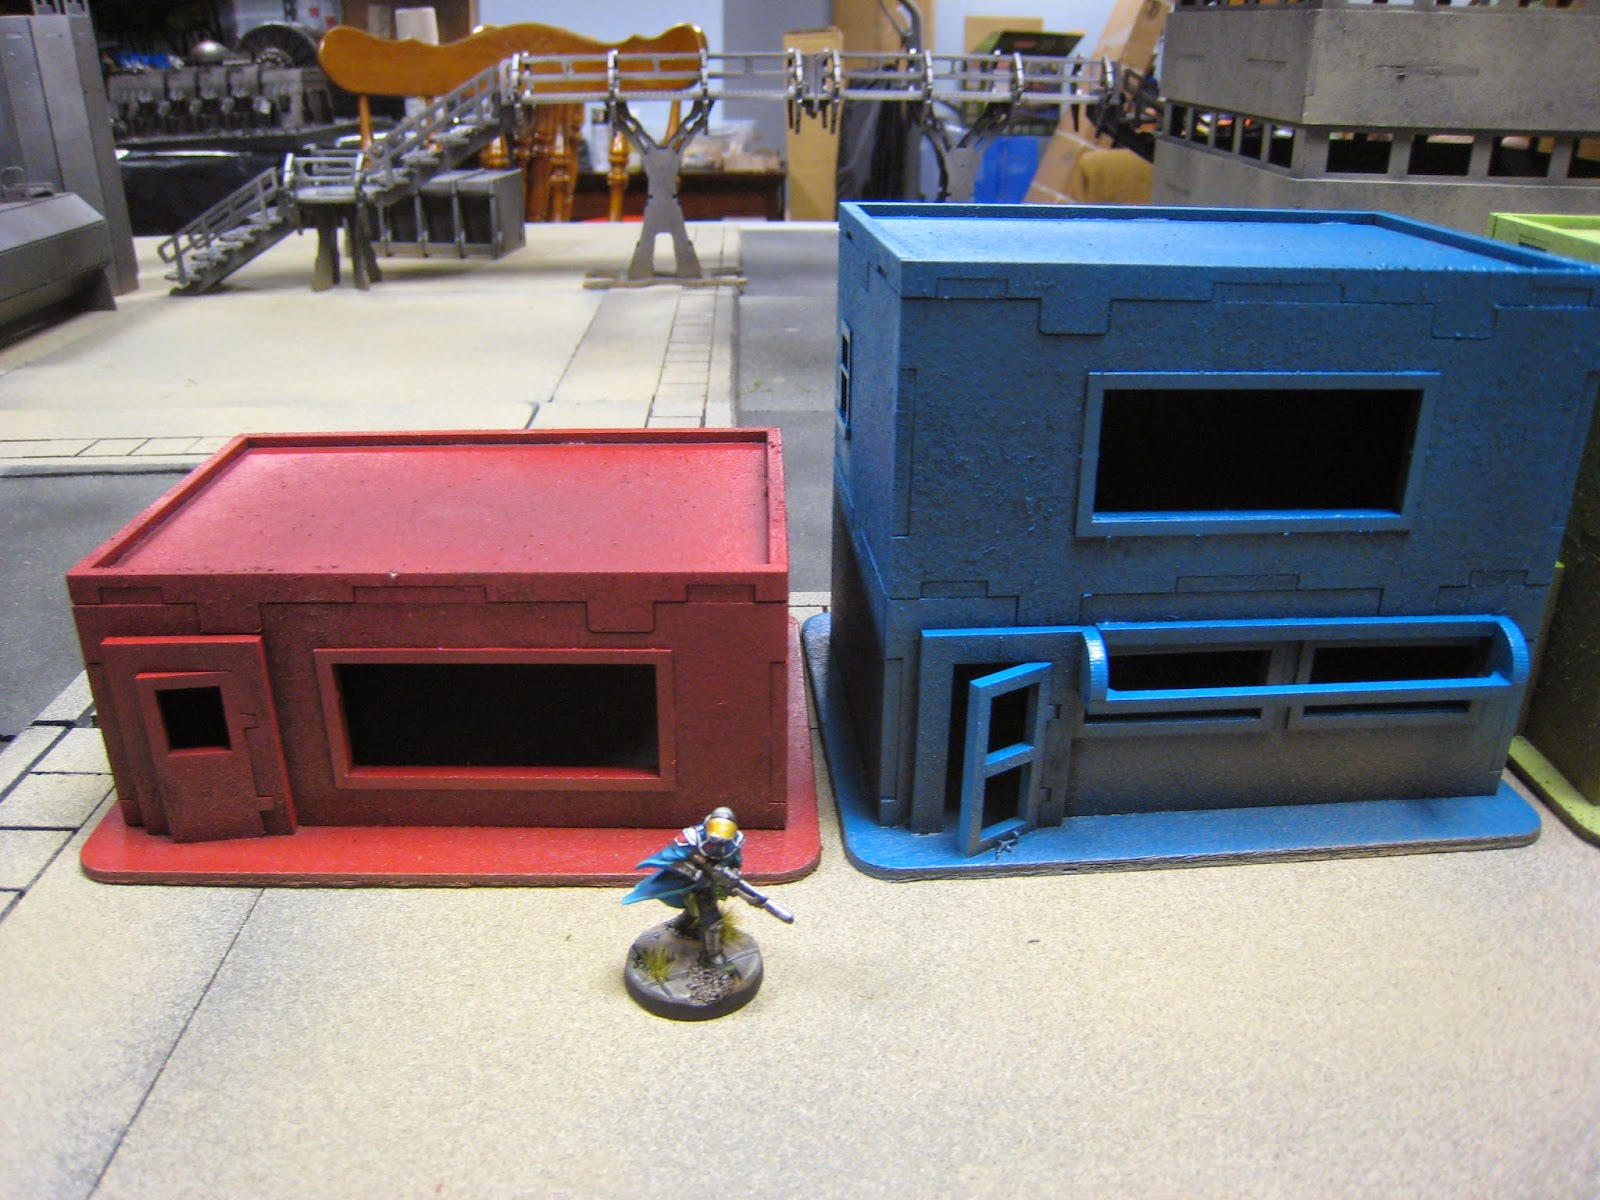
Here's all the terrain I've been building... lots of manufacturers!  My goal is to have at least two full tables of "modern-day" terrain, 2 full tables worth of futuristic city terrain, and a jungle board for Paradiso.  Almost all of the buildings allow to get inside each floor.

Demo's Laser Cut Designs: Shops, and Office Building
Sarissa Precision: Modern day houses, and all of the silos
Warmill: Futuristic linked buildings and shipping containers
Impudent Mortal: Holo bilboards and signs
Micro Art Studios: The "official" infinity terrain and bridges
CNC Workshop Miniature Scenery: Very cool infinity style buildings and the awesome walls

NOTE: All of the terrain you're about to see has only been started with spray paints.  My goal is to get everything painted to the first level with sprays, then go back and start detailing.  This way I can have playable scenery out of the gate while I work on the finer points.

Now to meet our host... Louie the Loup-Garous.  He'll be showcasing everything where it is now.

Louie says hello
I started with my basic tiles I'm going to use for some tables.  I decided that until all the cool Secret Weapon Minature tables come, I'll make some quick 1'x1' squares out of MDF that can be used as street tiles.  I started with a grey spray paint then used the textured asphalt looking spray and concrete looking spray.  I then went back on the asphalt and hit it with black.  I'll have to go back as some are a little light.

Tiles baking in the sun...took forever to dry
Here's a big batch spray paint of all of the cool buildings from Warmill.  I really dig out they fit together, they're very versital.  I'm going to go with a real light bluish white.  I'll go back and add orange striping and accents.  Trying to keep some of the terrain bright.


Here's the rapid fire shots of all of the first level spraying of the other buildings I knocked out.  All in all, I probably spent about 6 hours of spraying.  Not too shabby!


they stack or are great stand alone

these will look great with awnings and some detail


Finally, I started spray basing the 6 tiles from the new GW boards as well as I picked up two of the manufactorum tiles from forge world.  I'm going to see if I can get some infinity work especially out of the forge world tiles.  Not sure how well they'll play for 40k, but I technically can now get 8 feet out of it.


Phew, this is stage one.  I still have twice as much bare MDF yet to spray!  Lots of little things, and a ton of scatter terrain (cars, vending machines, etc.) I can't wait to go back and start adding posters, graffiti, weathering, etc.  I'll also knock out another 4 foot square set of basic street tiles.
Related Posts Plugin for WordPress, Blogger...